
If the power goes out, the freezer isn’t going to keep your food cold forever. That’s one reason I think food preservation is such an important skill to have.
You don’t have to be a homesteader with a root cellar and a barn full of supplies, either. There are several old-school ways to preserve food that don’t depend on having electricity.
Some methods take more equipment than others, but most can be learned with a little practice.
Canning
Canning is probably one of the first things people think about when they hear food preservation.
You can preserve things like fruits, vegetables, jams, jellies, pickles, meats, and other foods depending on the canning method being used.
Water-bath canning is used for many high-acid foods, while low-acid foods generally require pressure canning.
This is one area where you don’t want to guess. Use tested recipes and follow the recommended processing times and pressures.
Fermenting
Fermentation is another method people have been using for a very long time.
Cabbage, cucumbers, carrots, peppers, and other vegetables can be fermented using salt and the right conditions. A fermentation crock makes it easy to handle larger batches, but you can also start small.
It’s a pretty simple process once you understand what’s happening.
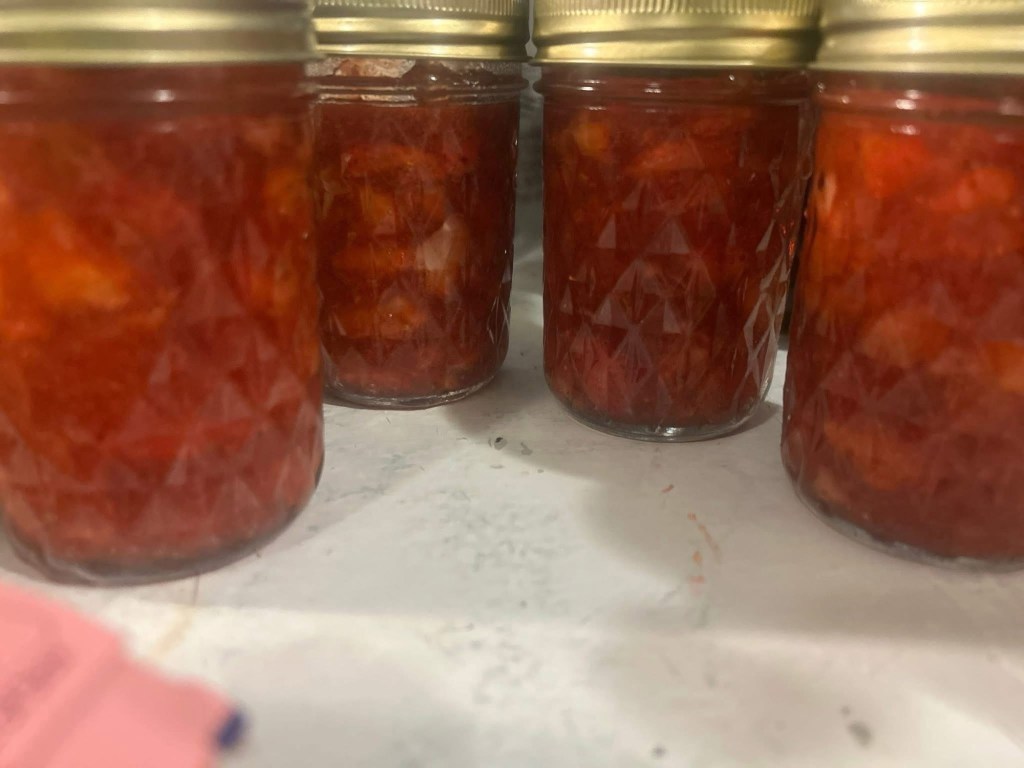
Jams and Jellies
Got extra fruit from the garden or local farmers market?
Turn it into jam or jelly.
Sugar, heat, and proper processing help turn fresh fruit into something you can keep in the pantry instead of trying to eat everything at once.
There’s also something pretty satisfying about opening a jar of homemade jelly months after you made it.
Pickling
Pickling is another good way to deal with extra vegetables.
Cucumbers are the obvious one, but you can pickle peppers, onions, carrots, green beans, beets, and plenty of other vegetables.
Some pickles are made with vinegar, while others are fermented using salt.
If you’re making shelf-stable canned pickles, stick with a tested recipe and don’t change the amount of vinegar or other ingredients that provide the necessary acidity.
Dehydrating
Dehydrating is one of my favorite preservation methods because it can take a lot of water out of food without taking up nearly as much storage space.
You can dry fruits, vegetables, herbs, and certain meats when they’re prepared correctly.
A dehydrator makes things easier, but the basic idea is nothing new. People have been drying food for generations.
The big thing is making sure the food is actually dry enough before you put it away for storage.
Smoking
Smoking meat is another traditional preservation method.
Besides giving food that smoky flavor everybody knows, smoking has historically been part of preserving meat and fish.
But there’s an important distinction here: simply putting meat over smoke doesn’t automatically make it safe for long-term storage.
Proper curing, temperature control, drying, and storage all matter. If you’re going to smoke meat for preservation, learn the process instead of relying on smoke alone.
Salt Curing
Salt has been preserving food for a long time, especially meat.
The salt helps remove moisture and creates an environment where many microorganisms have a harder time growing.
There are different ways to cure different foods, so learn the particular process you’re using. Some meat-curing methods also require curing salt, and the amounts need to be measured correctly.
This isn’t one I’d recommend just eyeballing.
Root Cellaring
Here’s one that doesn’t get talked about enough.
A root cellar uses the natural environment instead of electricity to keep certain foods in good condition.
Potatoes, carrots, onions, beets, winter squash, and other crops can be stored this way when the temperature and humidity are right.
You don’t necessarily need to dig a huge underground cellar, either. A cool, dark storage area may work for certain foods.
Dry Food Storage and Oxygen Absorbers
Rice, beans, wheat, pasta, and other dry foods can be stored for long periods when they’re kept properly.
Food-grade containers and oxygen absorbers can be useful for this type of storage.
Just remember that an oxygen absorber isn’t going to fix food that wasn’t properly dried in the first place. Start with good-quality, dry food and use containers and packaging appropriate for long-term storage.
Freeze-Dried Food
Freeze-dried food is another option, especially if you want something that’s easy to store.
A lot of commercial freeze-dried foods come in sealed pouches and can last a long time when stored properly.
The downside is that freeze-drying equipment can be expensive, so for many people, buying commercially freeze-dried food makes more sense than trying to do it themselves.
Non-Electric Sealing
A hand-operated sealer can come in handy when you’re working without electricity.
It can be useful for packaging certain dry or dehydrated foods, depending on the type of sealer and packaging you’re using.
Again, sealing something in a bag doesn’t magically make it safe for long-term storage. The food still has to be properly prepared and dry enough for the storage method you’re using.
You Don’t Need To Learn Everything At Once
This is probably the biggest thing I’d recommend.
Don’t go out and buy every piece of food-preservation equipment you can find.
Pick one method and learn it.
Maybe start with dehydrating some vegetables. Then learn how to can a few things. Try making pickles. Learn how to store potatoes and onions. Once you get comfortable with one method, move on to another.
The more methods you know, the more options you have.
That’s really what preparedness is about.
It’s not about filling your house with stuff because you think something bad is going to happen tomorrow. It’s about learning useful skills that can save money, reduce waste, and give you more control over what you have on hand.
Food preservation is one of those skills that’s worth learning whether you’re preparing for a power outage, growing a garden, or just trying to become a little more self-reliant.
Start small.
Learn the process.
Practice it.
Then build from there.
That’s practical preparedness.
 Appalachian Traders
Leave a comment